Module 1: Setting Up Amazon Q Developer
In this module, you'll set up Amazon Q Developer in your development environment. Amazon Q Developer is an AI-powered assistant that helps you build applications faster by providing code suggestions, answering questions, and helping with various development tasks.
Step 1: Create an AWS Builder ID
If you don't already have an AWS Builder ID, you'll need to create one:
- Visit https://profile.aws.amazon.com/
- Click "Create AWS Builder ID"
- Follow the prompts to create your account
- Verify your email address
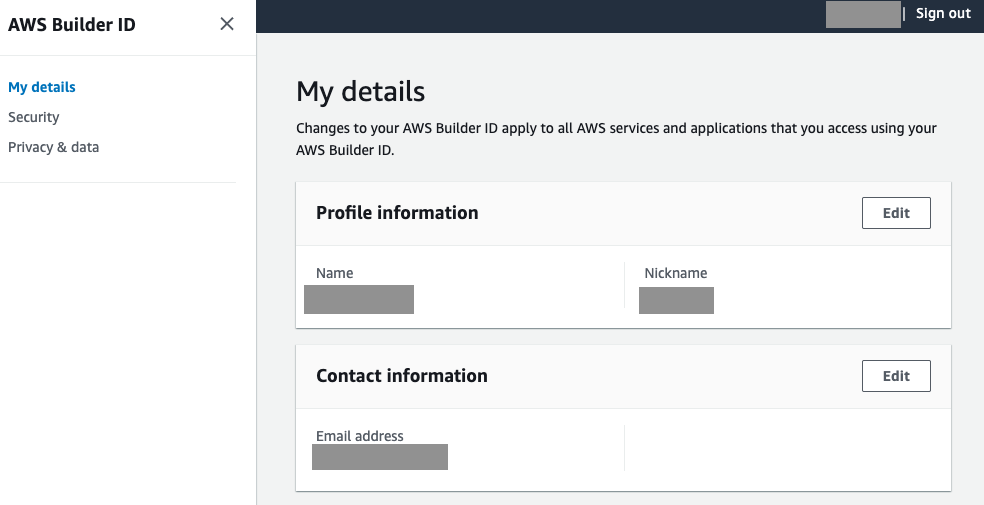
- After finish create account. You will see AWS Builder ID My details page
Step 2: Install Amazon Q CLI
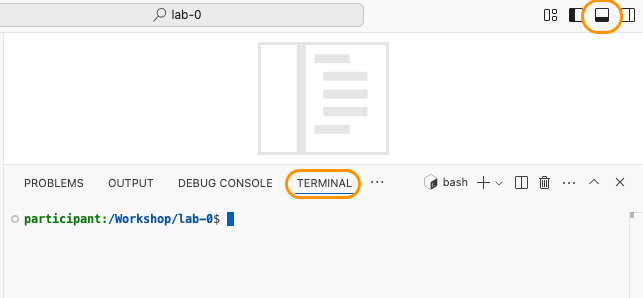
For VSCode terminal
1. Install Amazon Q Developer CLI
1.1 Download the installer
curl --proto '=https' --tlsv1.2 -sSf "https://desktop-release.q.us-east-1.amazonaws.com/latest/q-x86_64-linux.zip" -o "q.zip"1.2 Unzip package
unzip q.zip1.3 Install package
./q/install.shOutput:
✔ Do you want q to modify your shell config (you will have to manually do this otherwise)? · Yes
✔ Select login method · Use for Free with Builder ID

Confirm the following code in the browser
Code: MFNB-SFWC

Open this URL: https://view.awsapps.com/start/#/device?user_code=MFNB-SFWC
2. Log in to Amazon Q Developer CLI by using AWS Builder ID
2.1 Copy URL: https://view.awsapps.com/start/#/device?user_code=MFNB-SFWC and Open in web browser
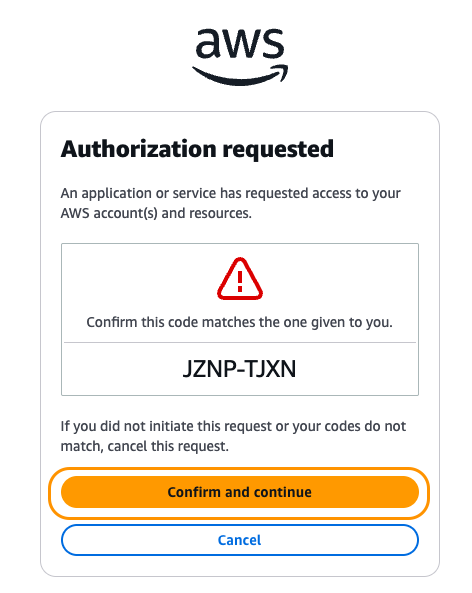
2.2 Confirm Authorize Requested.
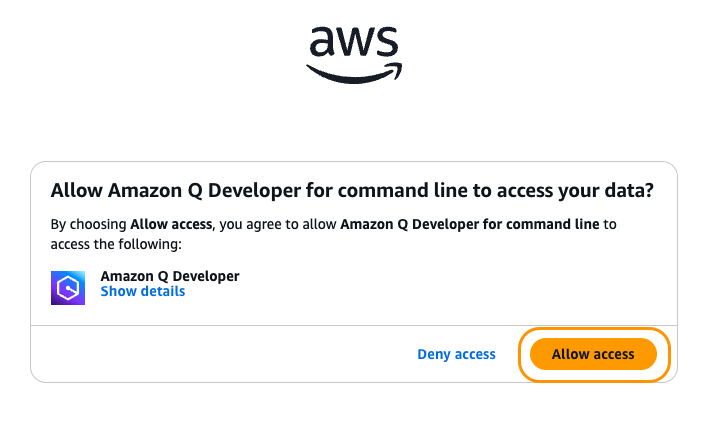
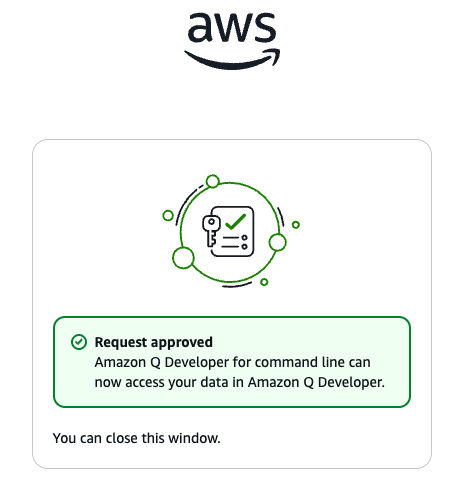
2.3 Allow Amazon Q Developer for Commandline to access your data.
2.4 Request approved and you can close this window.
2.5 Navigate back to VSCode, you will see `Logged in successfully`

2.6. Delete installation package
# Delete installation package
rm -rf q.zip q
3. Verify installation and start q chat
3.1 Verify installation
q --version3.2 Start a chat with Amazon Q
q chat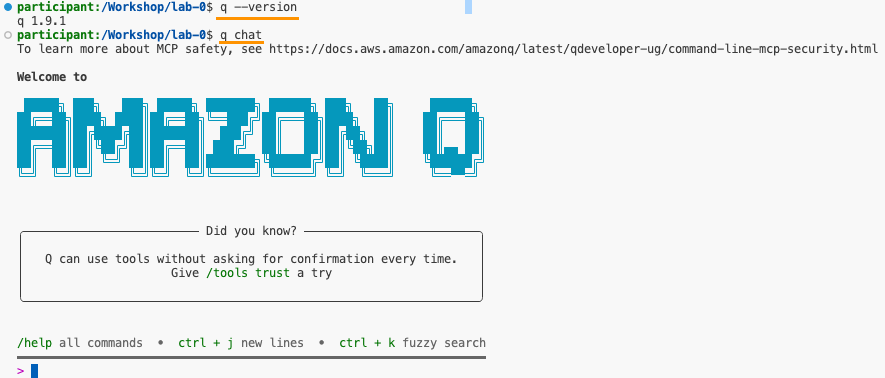
Congratulations!! You're now ready to chat with Amazon Q CLI.
Note: For other OS please see installation guide here
Step 3: Install Amazon Q Developer in VS Code
- Open VS Code
- Navigate to the Extensions view by clicking the Extensions icon in the Activity Bar on the side of the window or pressing
Ctrl+Shift+X(Windows/Linux) orCmd+Shift+X(macOS) - Search for "Amazon Q"
- Click "Install"
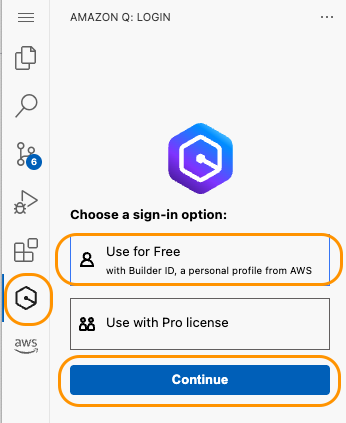
- Once installed, you'll see the Amazon Q icon in the Activity Bar
- Click on the Amazon Q icon and follow the prompts to sign in with your AWS Builder ID
7. There will have pop up. So, you can select Proceed To Browser

8. You can continue step same as CLI to Confirm and continue then Allow access then Request approved then close the windew
9. Navigate back to VSCode, you will see you Logged in successfully and able to start new tab.
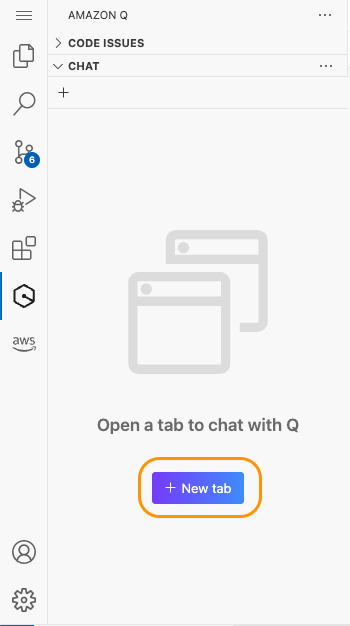
Congratulations!! You're now ready to chat with both Amazon Q CLI and IDE.
